While I was working on the STD Bunting, I was also working on my idea for our thank you cards. I'd seen around the internet some ideas for thank you cards incorporating pictures of the brides and groom with a sign saying thank you. I loved idea soooo much.
Once I realized I'd use the bunting to say Save-The-Date, I wanted to do something different for our Thank You cards. I knew I'd rather have the pictures be from our engagement photos as opposed to our wedding photos, so I needed to get it done immediately.
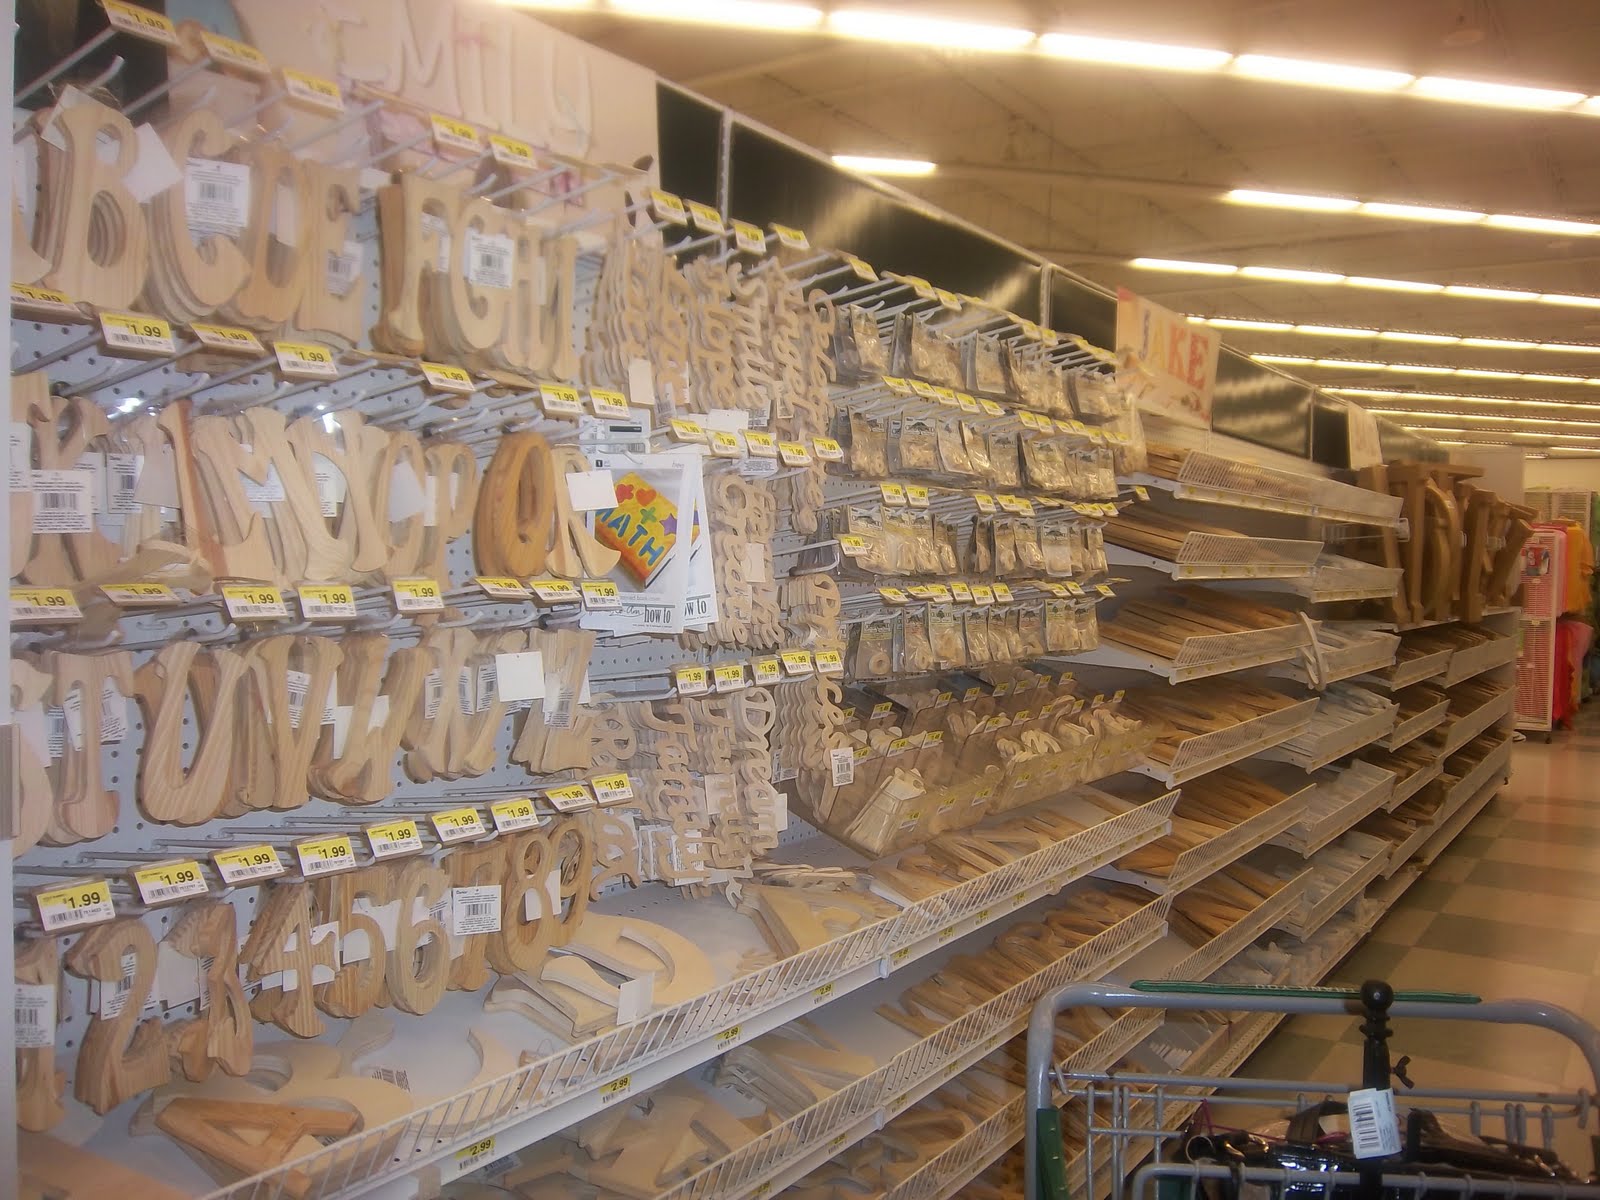
While at Michaels, I was strolling around and stumbled across the wooden number/letter aisle. I don't know why, but I really like wooden letters. And then the wheels began turning. I could paint those in our wedding colors! Oh yeah, and I could attach them to... something. Then inspiration struck! At the front of the store, they had all sorts of doo-dads for hanging.
It was an Ah-mazing sale on wreaths and wreath hangers. Feeling pretty pleased with my idea, I headed to the paint aisle to see if they had the right colors. They did! Winning! I quickly grabbed up small bottles in the colors of our wedding (at least what they
used to be). Since I was over there, I grabbed some fake baby's breath to add more flair. I was ready to get to work.
 |
| This is the aisle at Michael's. Soooo many letters and numbers just waiting to be jazzed up. Crafty droool. |
 |
| I almost tried to incorporate these letters in some sort of monogram, but couldn't figure out how to make it work. Any ideas? |
For this project, I needed:
- My lovely trusty glue gun. I used it to attach the letters and baby's breath to the wreath.
- Wooden letters. Just enough to spell out T-H-A-N-K Y-O-U.
- Wreath. I got a grapevine leaf because I loved that rich dark color. And the size was 14" I believe, just right for what I wanted (and on sale!).
- Fake flowers. I picked baby's breath, 'cause I love me some baby's breath. Also, I felt bigger or more numerous flowers would be too gaudy for what I was envisioning.
- Paint. I picked up paint in four of our colors on the off chance I might find a way to use them all.
- Paintbrushes. To put the paint on the letters, one needs a paintbrush. or at least
- Tarp for working area. I was using Mima Kettle's dining room table, so I definitely needed a tarp to protect my working surface.
.
 |
| Personal photo: Here is the layout of every think I'd be using; some of that is the stuff I used for the STD Bunting. |
 |
| Personal photo: I laid the letters out and tried to figure out just how to color them so they really popped. |
 |
| Personal photo: That's Mr. Kettle helping. He's about as helpful as Kitty Pot. He's reading and eating Sun Chips. Gotta give him points for being healthy and exercising his mind, right? |
 |
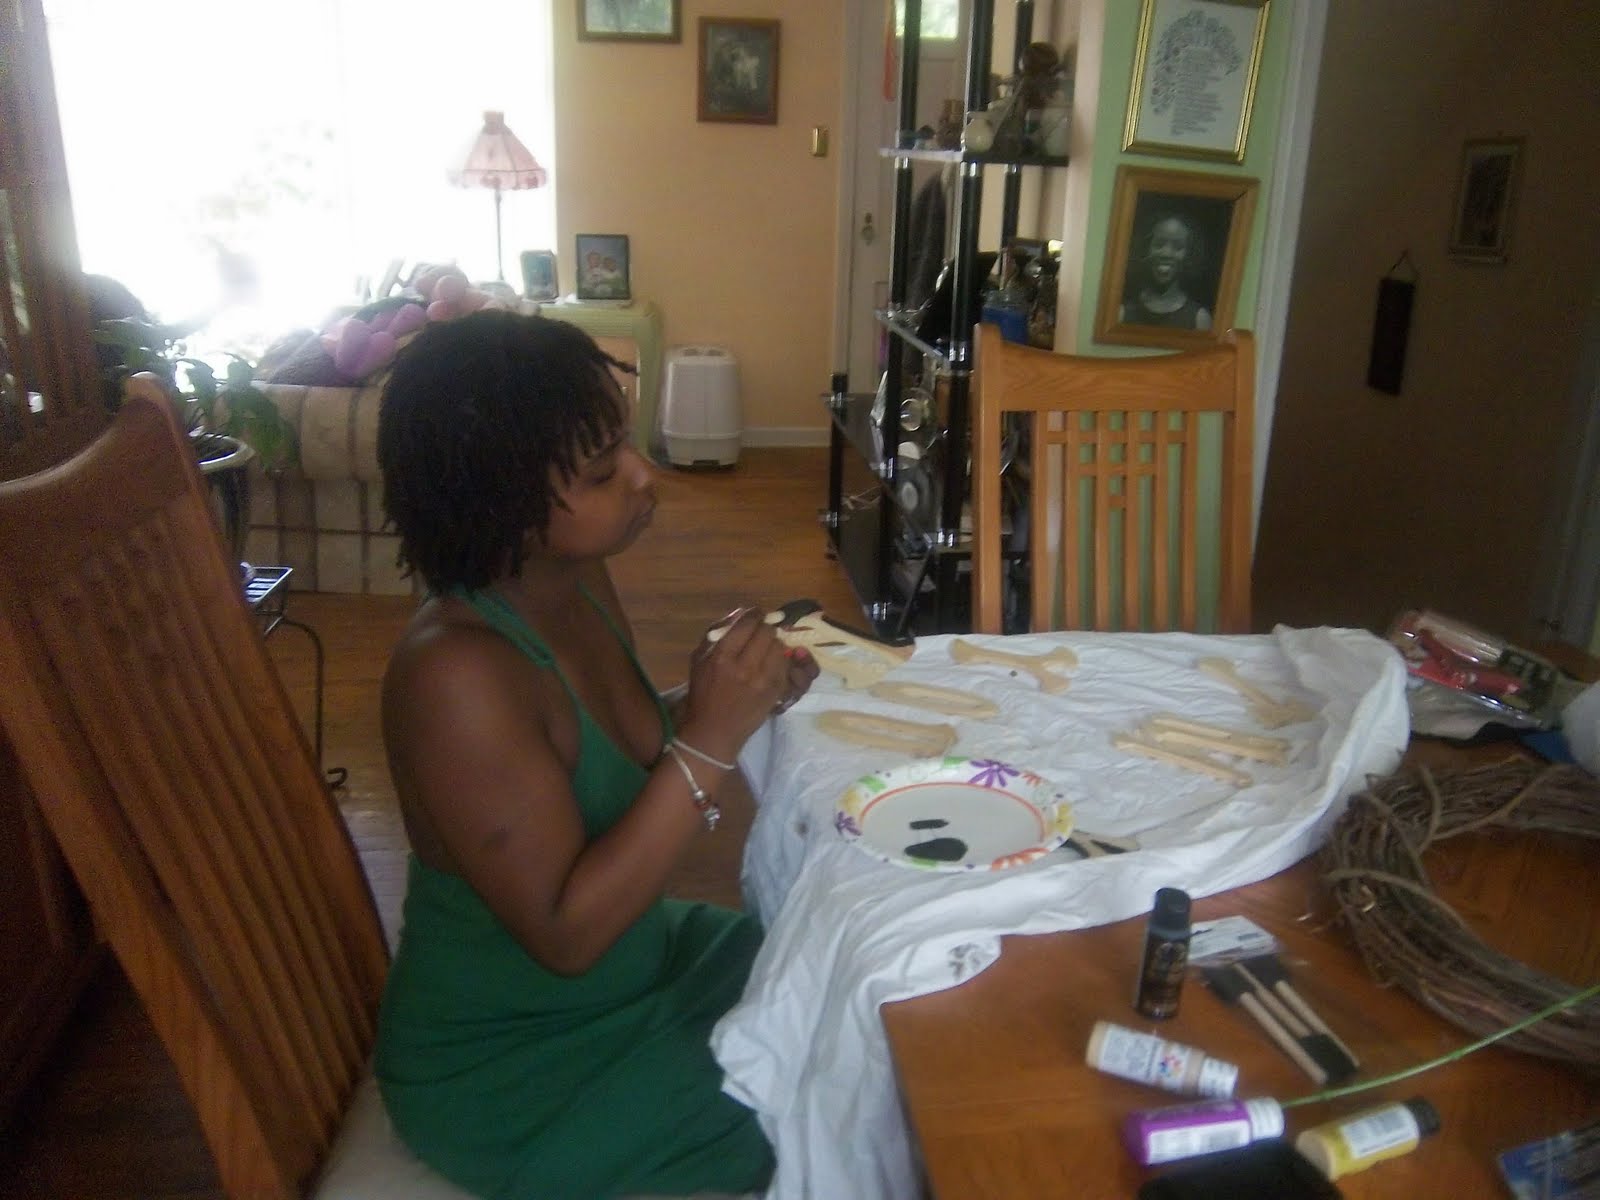
| Personal photo: I had him take a picture of me painting the letters. I started with black and put that on the sides of every letter. I still hadn't figured out what other colors to use or how yet. |
 |
| Personal photo: There are a lot o' crevices in these wooden letters. |
I was using a small paintbrush, but even that was too large for some of those inner corners. I suggest you get something tiny, like this floss/tooth picker thingee, to get the paint into those colors. I figured that would be easier than having to apply 6 coats of tan paint to cover up getting black all over the front and back of the letters.
 |
| Personal photo: I decided to use them all because I couldn't choose. I also painted both the back and front of each letter because I also hadn't yet sorted how to attach and I didn't know if both sides of the letters would be seen. |
 |
| Personal photo: I laid the wreath out and began contemplating the baby's breath layout. I ended up cutting the fake flower into sectional pieces to insert around the wreath. |
 |
| Personal photo: The fabric at the top of this picture was what we were using for our color swatches. |
One of those swatches was a tie of Mr. Kettle's that had the right color combo for our tan and black ideas. The other is purple and was from a bridesmaid dress shawl that was the perfect color to match my dress.
 |
| Personal photo: My trusty lovely glue gun. It's a tiny thing, just like me. It's very effective, and kind of fun to watch the mini glue sticks feeding into it. Did I mention I'm quirky? |
 |
| Personal photo: This was after I'd glued down all the letters. I just used glue, which was tricky to get it to attach to a non-flat surface, but I think it worked out. |
Figuring out the angle for the letters was no small task, but I enjoyed working it out. I tried to go for mostly straight on, or angling a bit upward. I figured that would make the black on the edged of the letters look like a cool shadow effect and pop nicely in pictures.
 |
| Personal photo: After adding baby's breath and hanging on the hook, here is my completed project! |
I'm really proud of how this turned out. I can't wait to show our e-photos and how great they looked with this. Even though our colors changed, I'll probably still use this for our thank you cards. Or maybe I'll photo shop and fix the color. Or maybe I'll re-paint the H, K, and O the right color purple. Or... maybe I'll do a whole other wreath! The options are endless here. What do you think hive?
[Insert poll here]
Question: What should I do with my Thank You wreath for our post-wedding thank you cards?
Option #1: Keep as is, who cares if the colors are off?
Option #2: Photoshop it baby! Don't make this harder than it has to be.
Option #3: Re-paint the letters. You want the colors just right, don't you?
Option #4: New wreath! New wreath! New wreath! We love DIY, so pleeease do a whole new wreath!


No comments:
Post a Comment